Hi all and wishing everyone a Very HAPPY NEW YEAR 2017. Glad to be blogging and its almost 1 year 7 months since I started to blog. Am glad there is a lot of traffic, glad and another wish I could post regularly this year. Let’s see if this happens.

Today am going to bring a very easy Vegetable Briyani using a pressure cooker. This is a no fuss and can be easily done by Bachelor’s also. Tastes yumm for sure. Sometimes a simpler version is more satisfying than the more richer and difficult versions. This is my mom’s recipe and she used to make it whenever we visit her. It was a must have when we visit and this time I though why not try here and the result was good.

Sometimes replicating some of my mom’s dishes was not easy as the tecniques would differ. Like the Murungakai Pachadi, I like it a lot but whenever I used to make it, it never used to be good. After lot of tries and corrections I have mastered that. But luckily this came out well in the first try itself.

Do try and let me know if you liked it.
Cuisine: Indian(South) | Category: Rice Varieties | Prep time: 30 mins | Cook time: 30 mins | Serves: 4

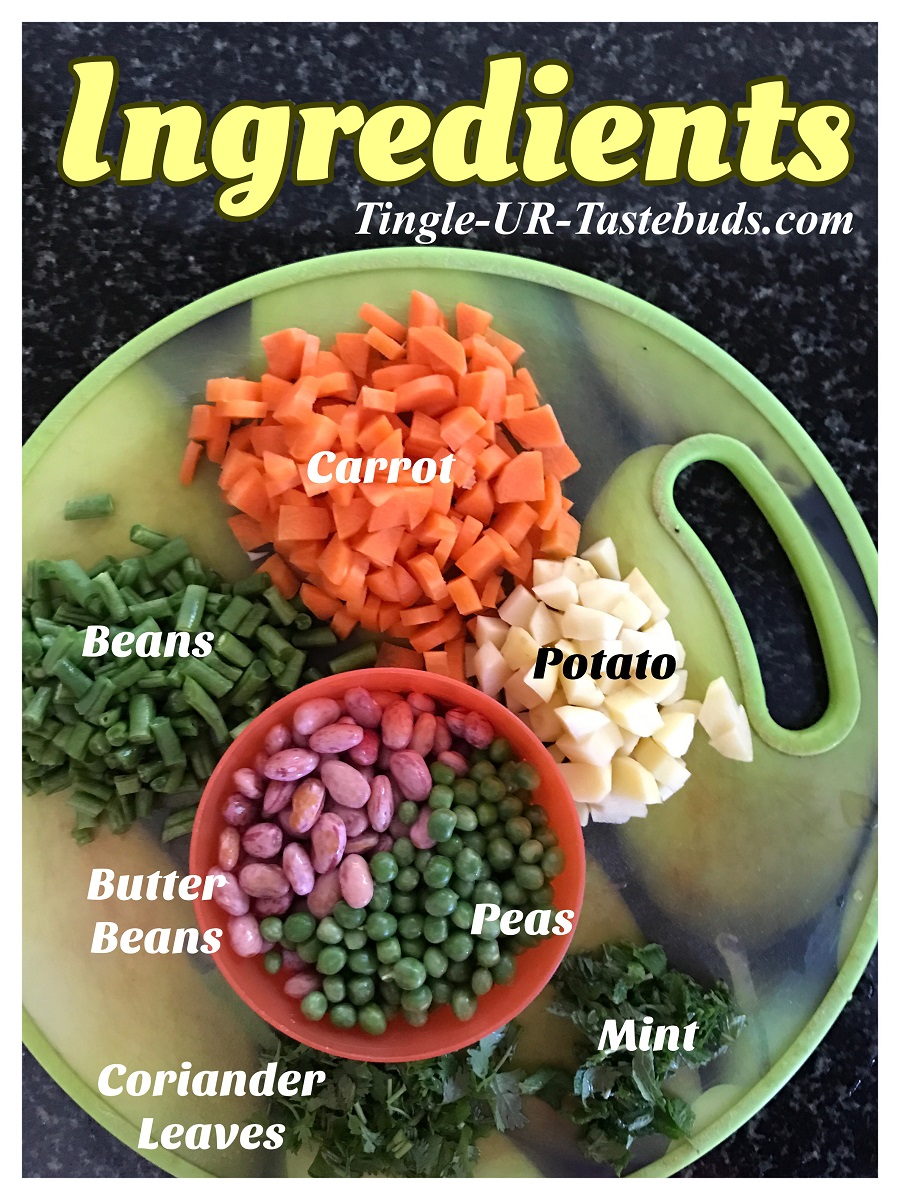
Ingredients
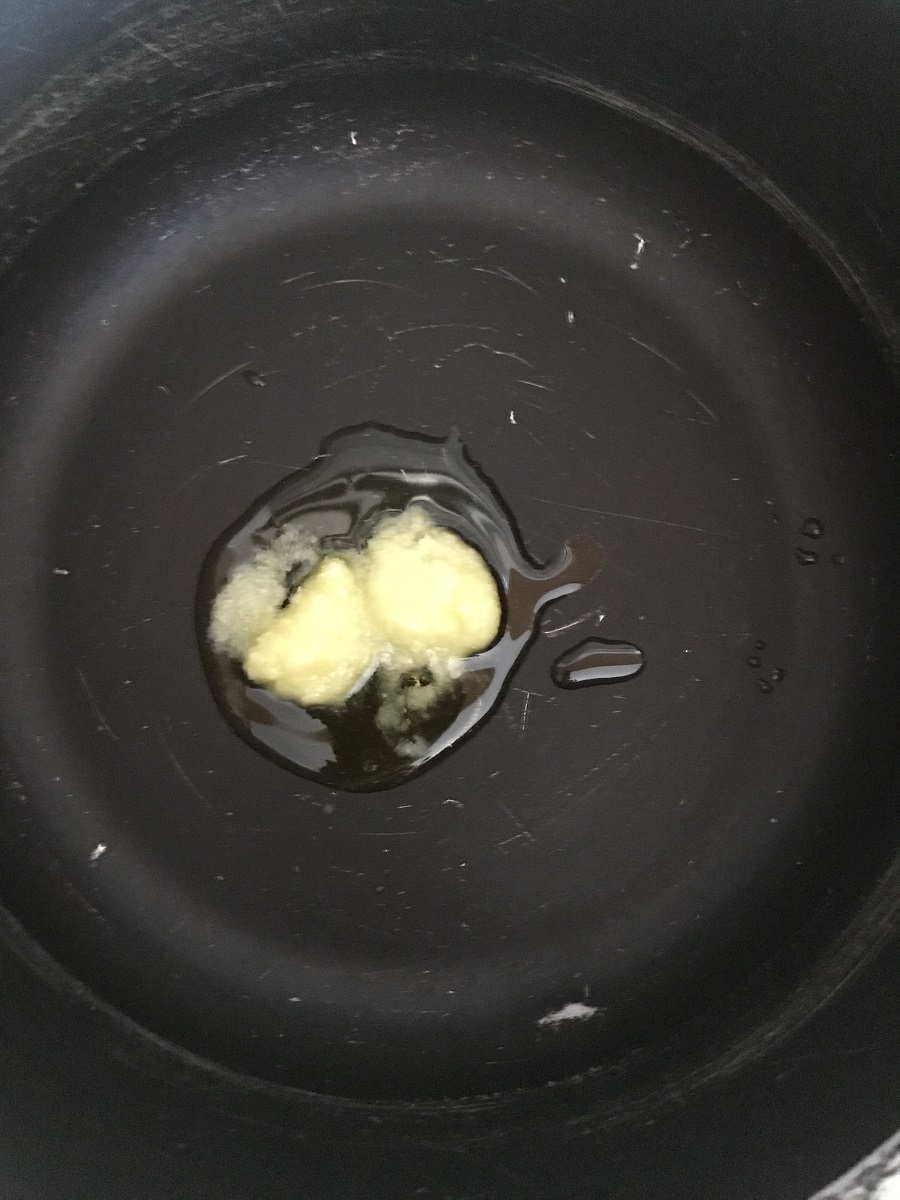
- Oil – 2 tbsp.
- Ghee – 2 tbsp.
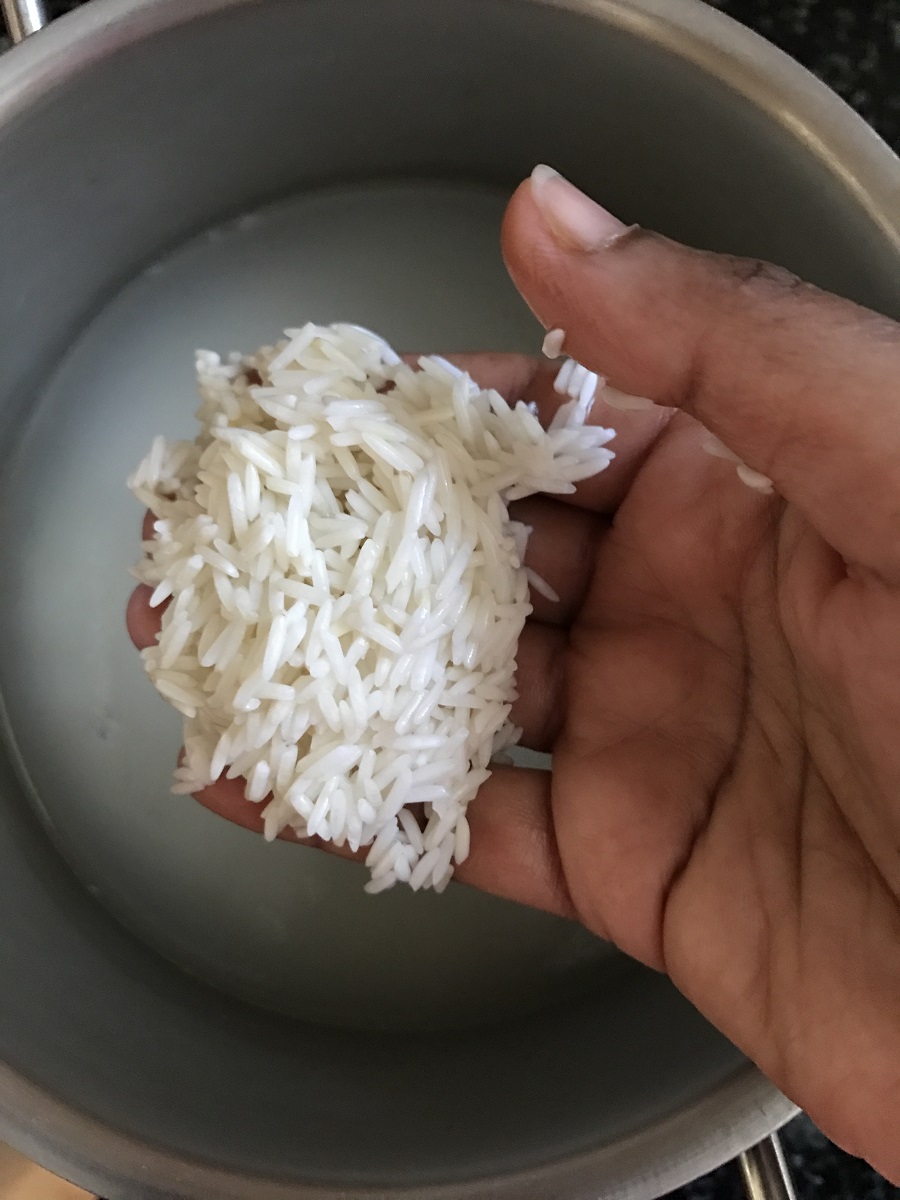
- Rice – 1 1/2 Cup (Any Basmati Rice)
- Onion – 2 No. Medium(Slice Thinly)
- Tomato – 3 No. Large(Slice Thinly)
- Green Chili – 3 No. (Increase or Decrease according to taste)
- Ginger Garlic Paste – 1 1/2 tsp.
- Carrot – 2 Nos.
- Beans – A handful
- Potato – 1 No.
- Butter Beans – 1/2 Cup
- Peas – 1/2 cup
- Mint – 2 tbsp.
- Coriander Leaves – 2 tbsp.
- Water – 2 1/4 Cups.
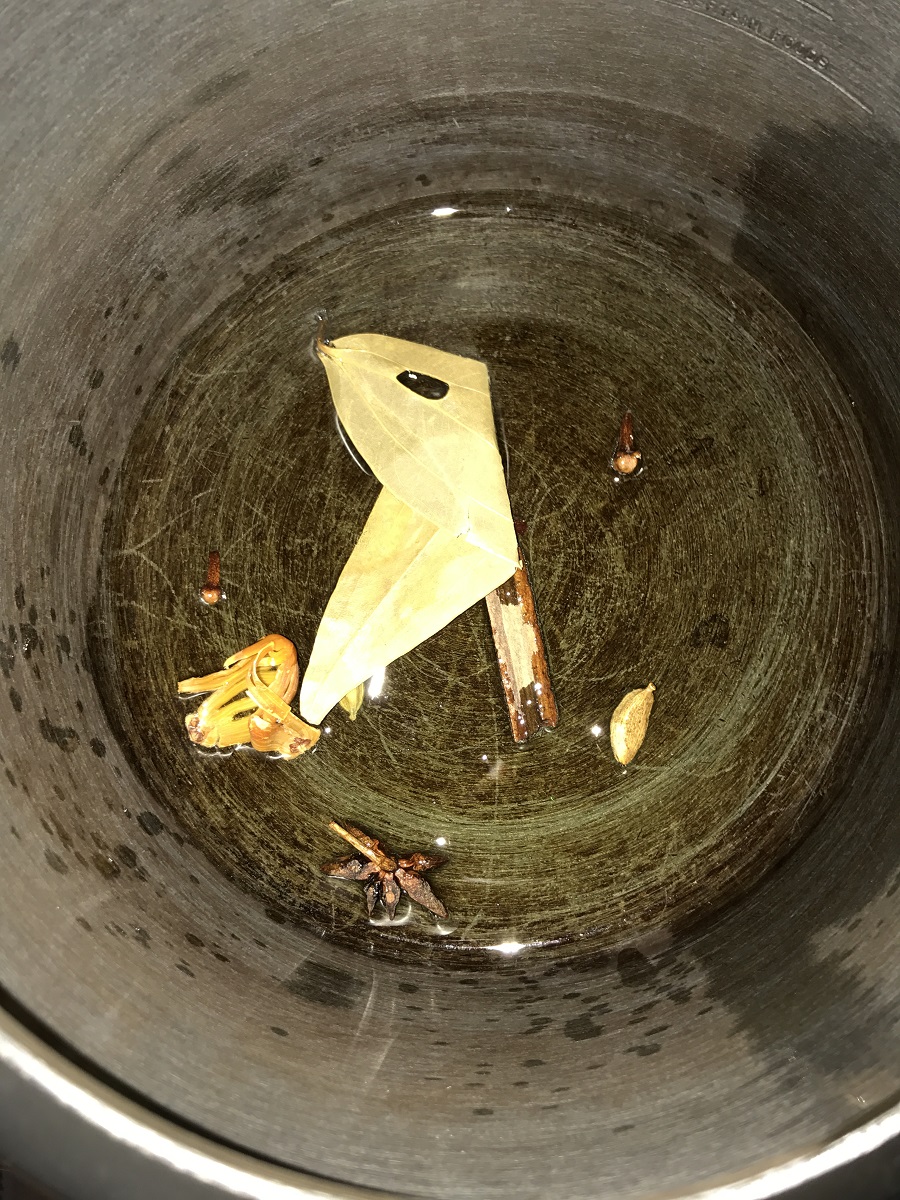
To Temper
- Bay Leaf/Birinji Ilai – 1 No.
- Cinnamon/Pattai – 1 ” piece
- Clove/Krambu – 3 Nos.
- Cardamom/Elakkai – 2 Nos.
- Mace/Jathikai Thol – 1 No.
- Star Anise/ – 1 No.
METHOD
- Get all your ingredients.
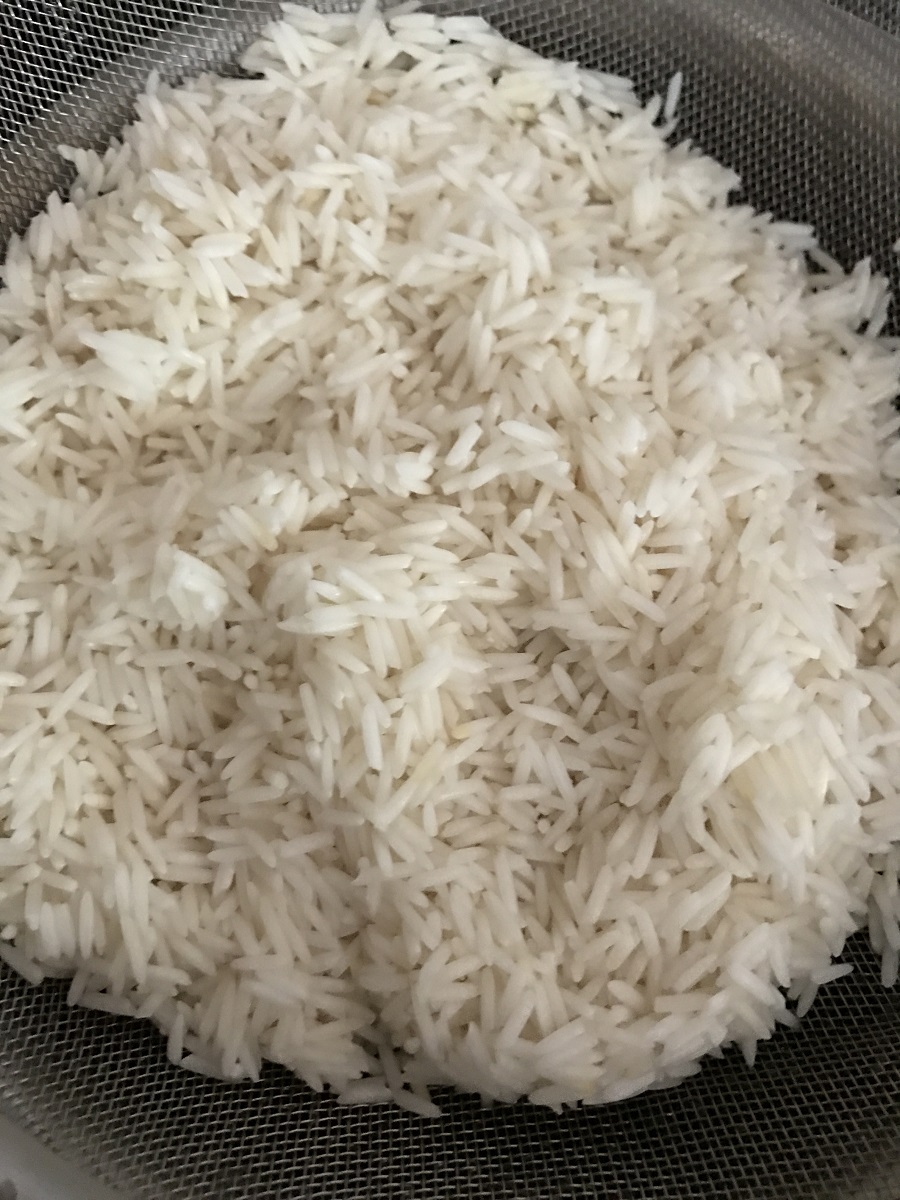
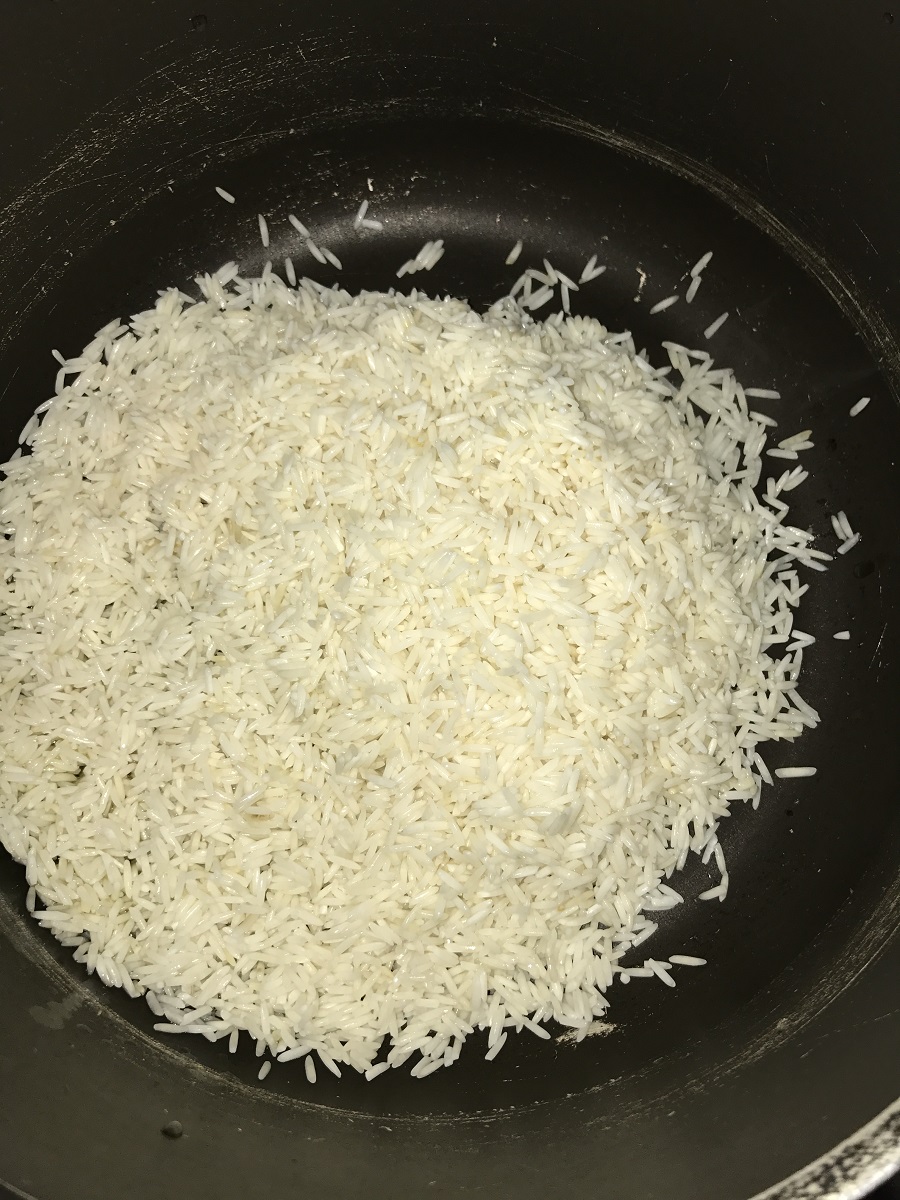
- Soak the rice for half an hour. After half an hour drain the water completely.
- Meanwhile chop all the vegetables as shown and slice the onion and tomato also.
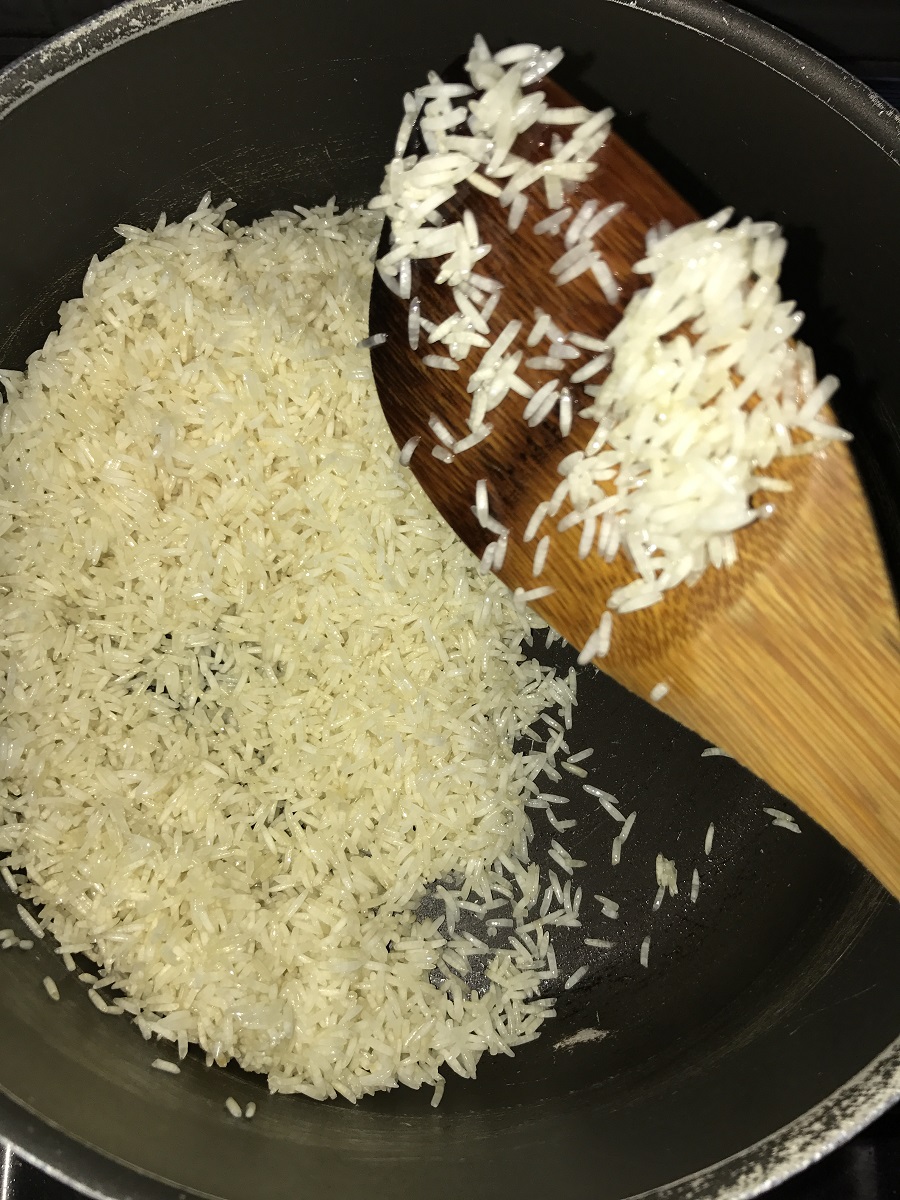
- Now take 1 tablespoon ghee in a vessel and fry the drained rice for few minutes until it is glossy and set aside.
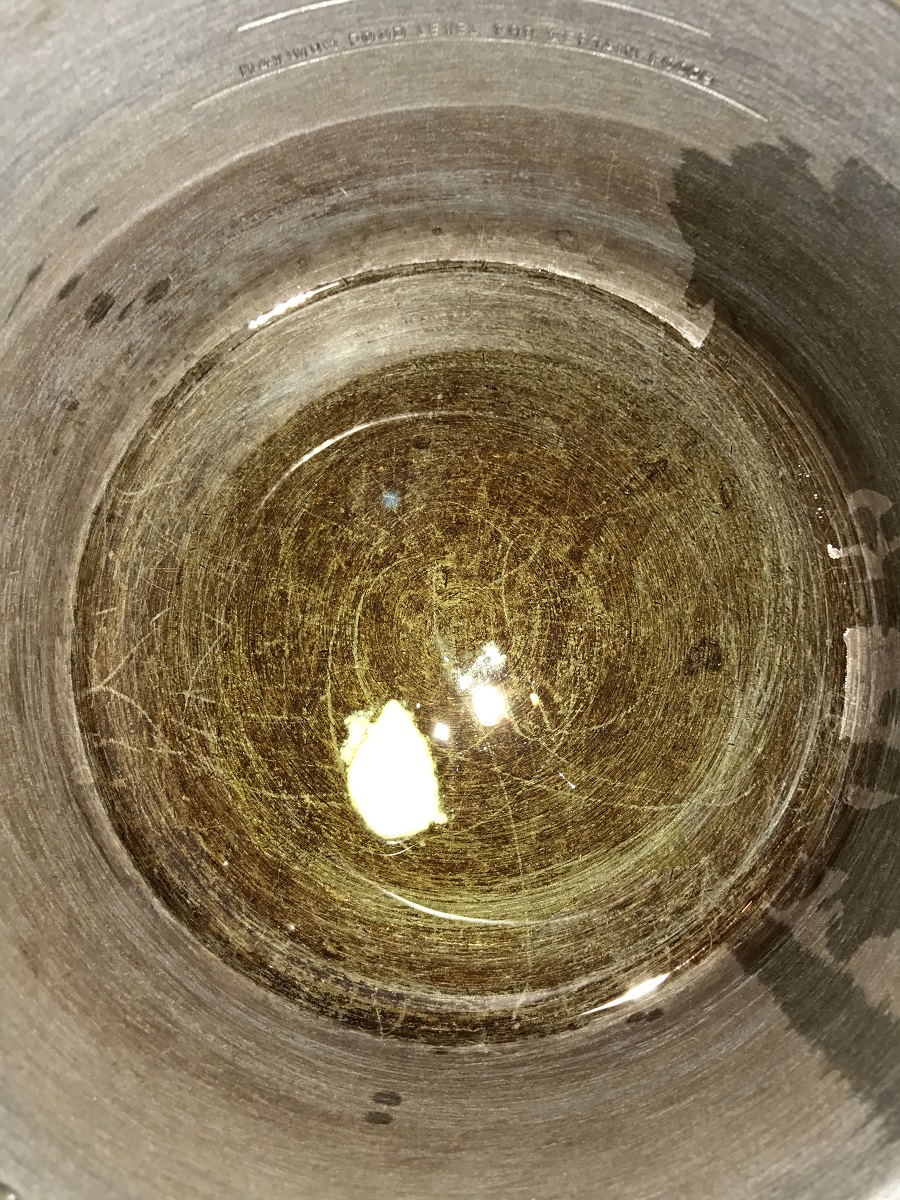
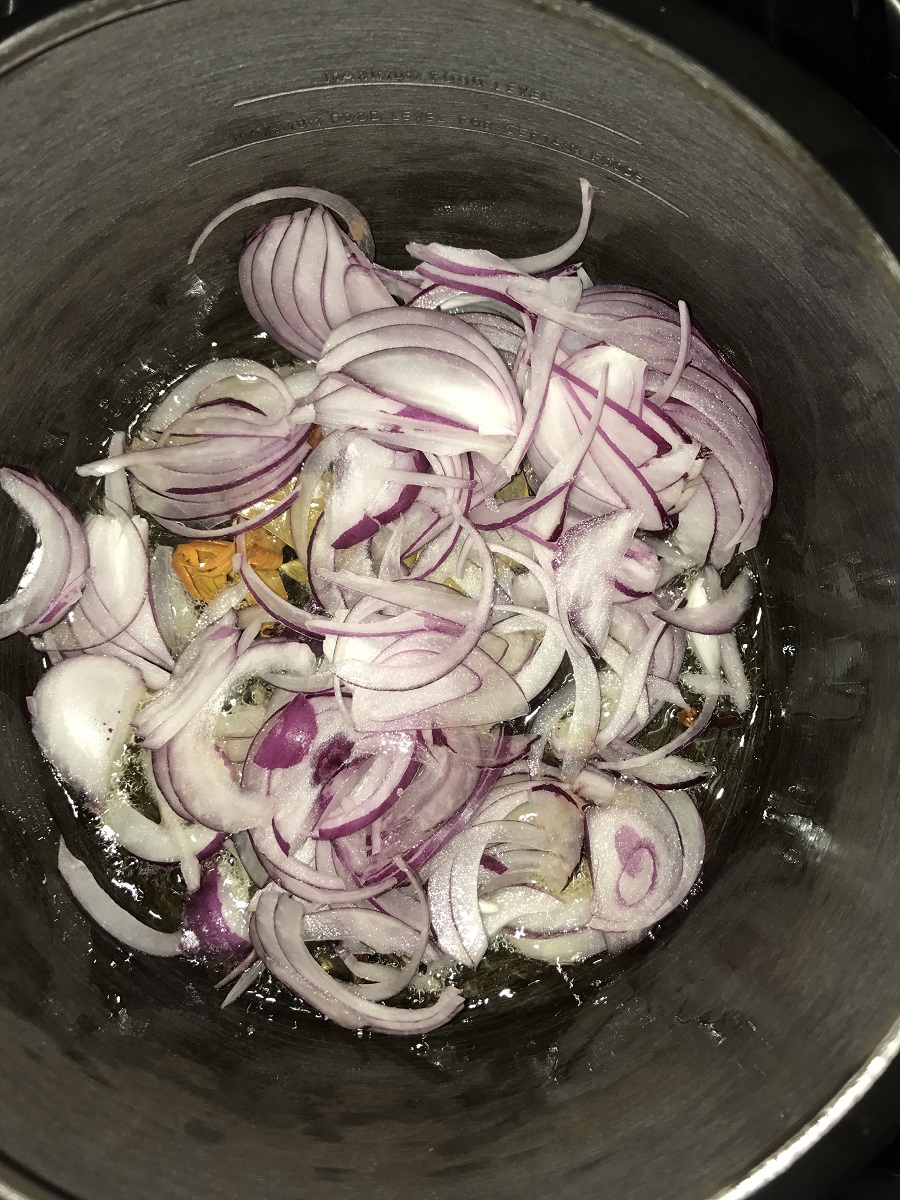
- Take a pressure cooker and add oil and ghee(1 tbsp) and temper all the whole garam masala listed.
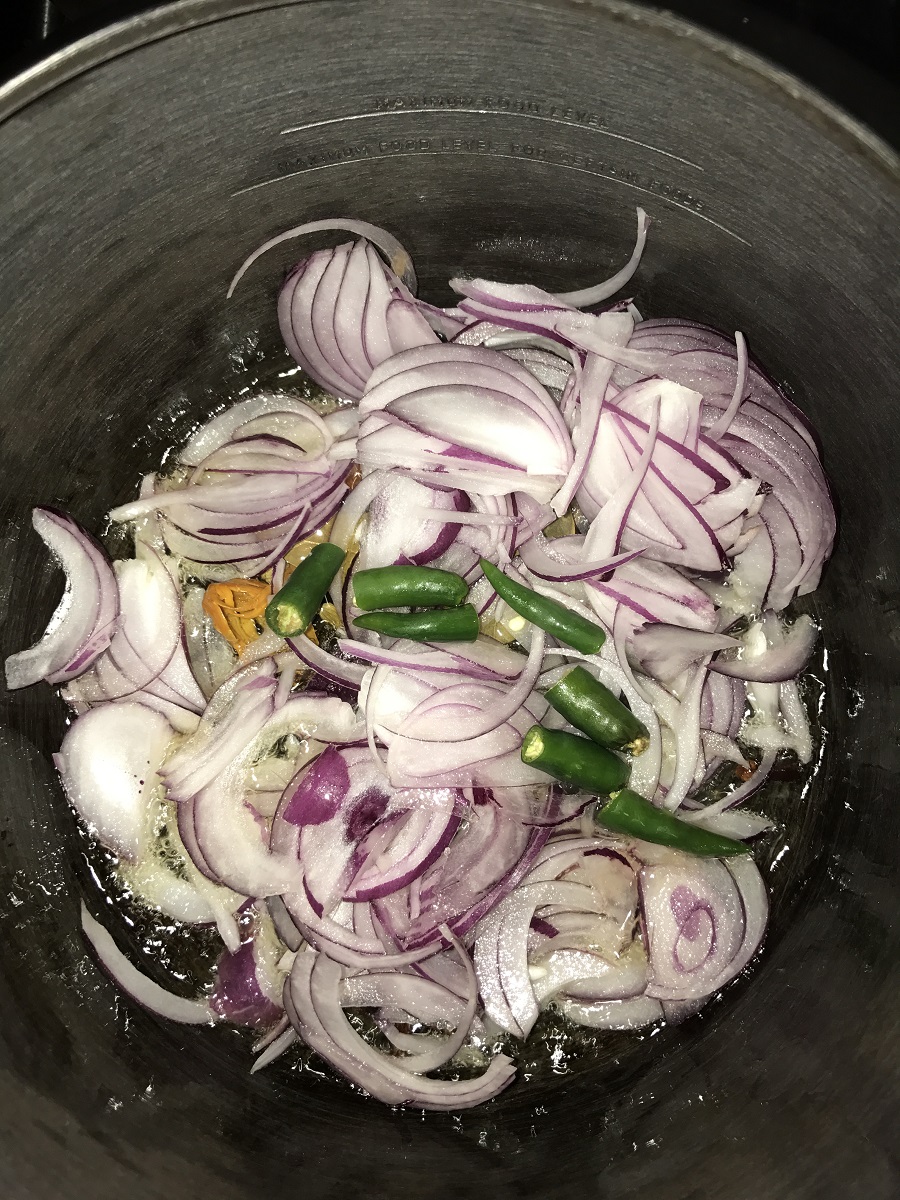
- Then add the onion and green chilies and saute for a minute.
- After that add ginger garlic paste and saute till the raw smell goes off.
- Now add the chopped tomatoes and fry till they become mushy.
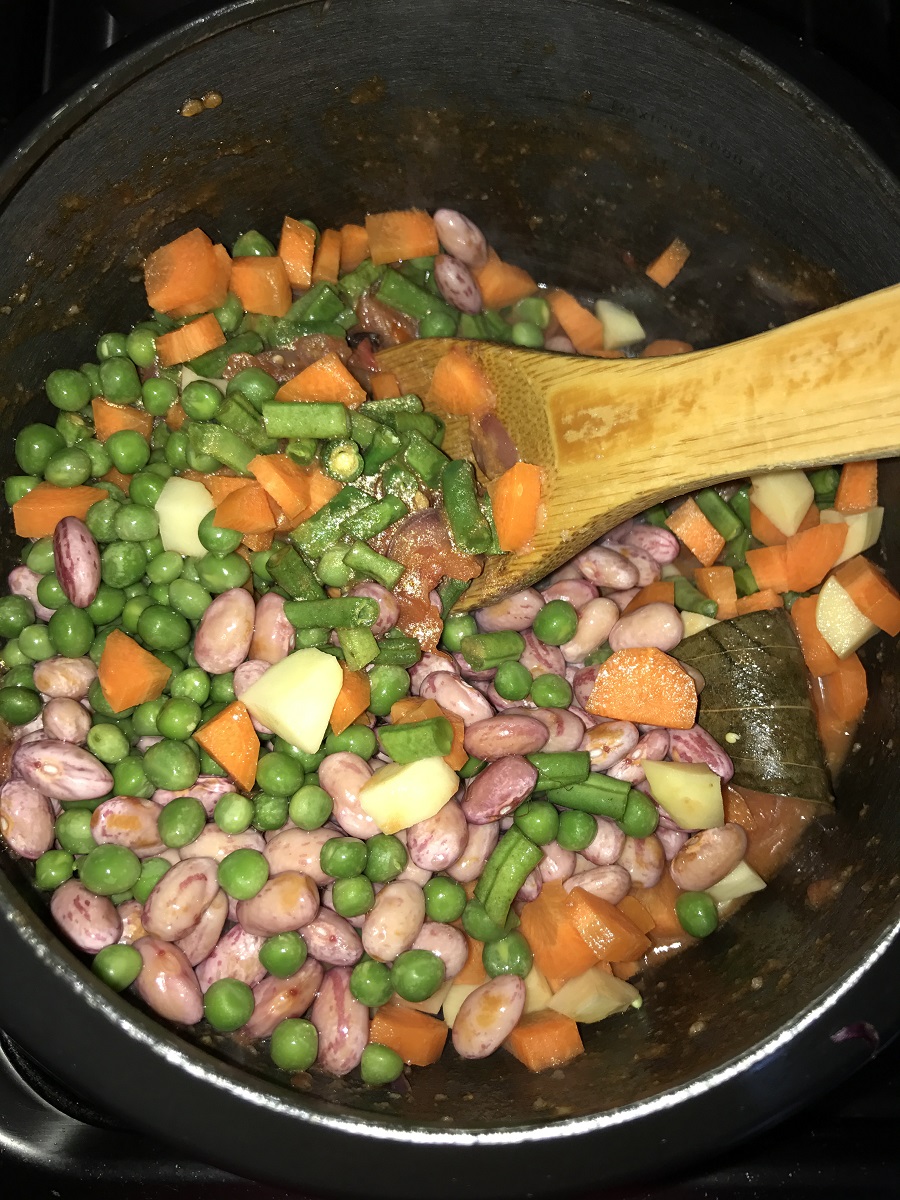
- Add the chopped vegetables along with the butter beans and peas and stir everything for few minutes.
- Finally add the rasted rice and stir everything to combine.
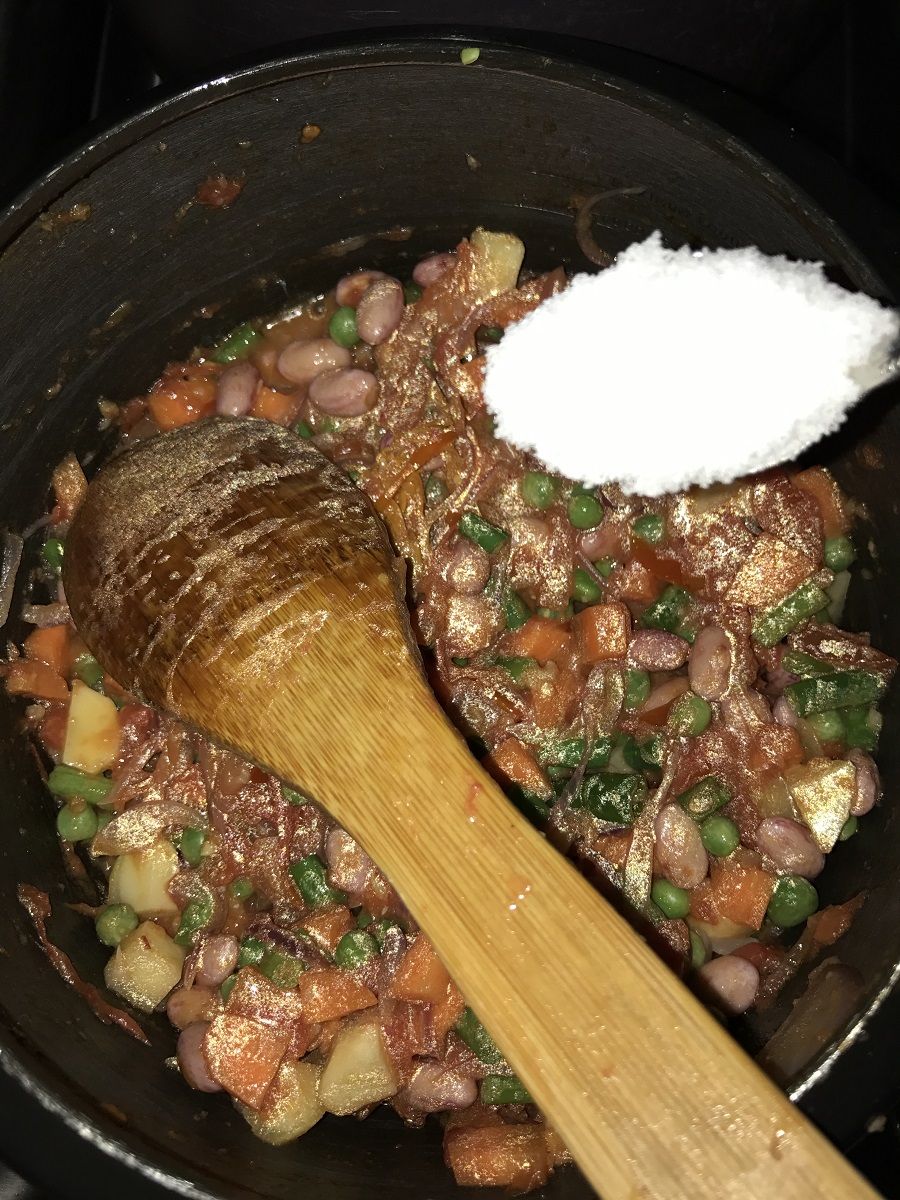
- After that add water and salt to taste and finally add the chopped mint and coriander leaves on top.
- After it comes to a boil close the pressure cooker and cook for just 2 whistles in medium flame.
- Open the pressure cooker only after the pressure releases.
- Fluff the briyani and enjoy it with raita. I served it with raita and cauliflower 65.
Note : Slicing the veggies accordingly is very important for even cooking.
Soaking the rice is very important as it helps in getting the long grains after cooking.
Add any veggies of your preferences. But make sure you add almost 1 1/2 cups of veggies for 1 cup of rice. I don’t like to add cauliflower as when you pressure cook it becomes mushy.
Adding butter beans is my secret touch. If you don’t get it or don’t like it no worries just skip it.
Water is 1 1/2 cups for every 1 cup. Can add coconut milk or normal milk or a mixture of one with water. It will make it rich.
Roasting the rice in the ghee is essential as it helps the rice from not clumping together.
Close the pressure cooker after it comes to a boil or put the bomb after the steam comes from it.
Check the salt after adding water. It should be slightly more as the veggies will absorb them.
I used a 3 litre pressure cooker for preparing this.
Visual clicks


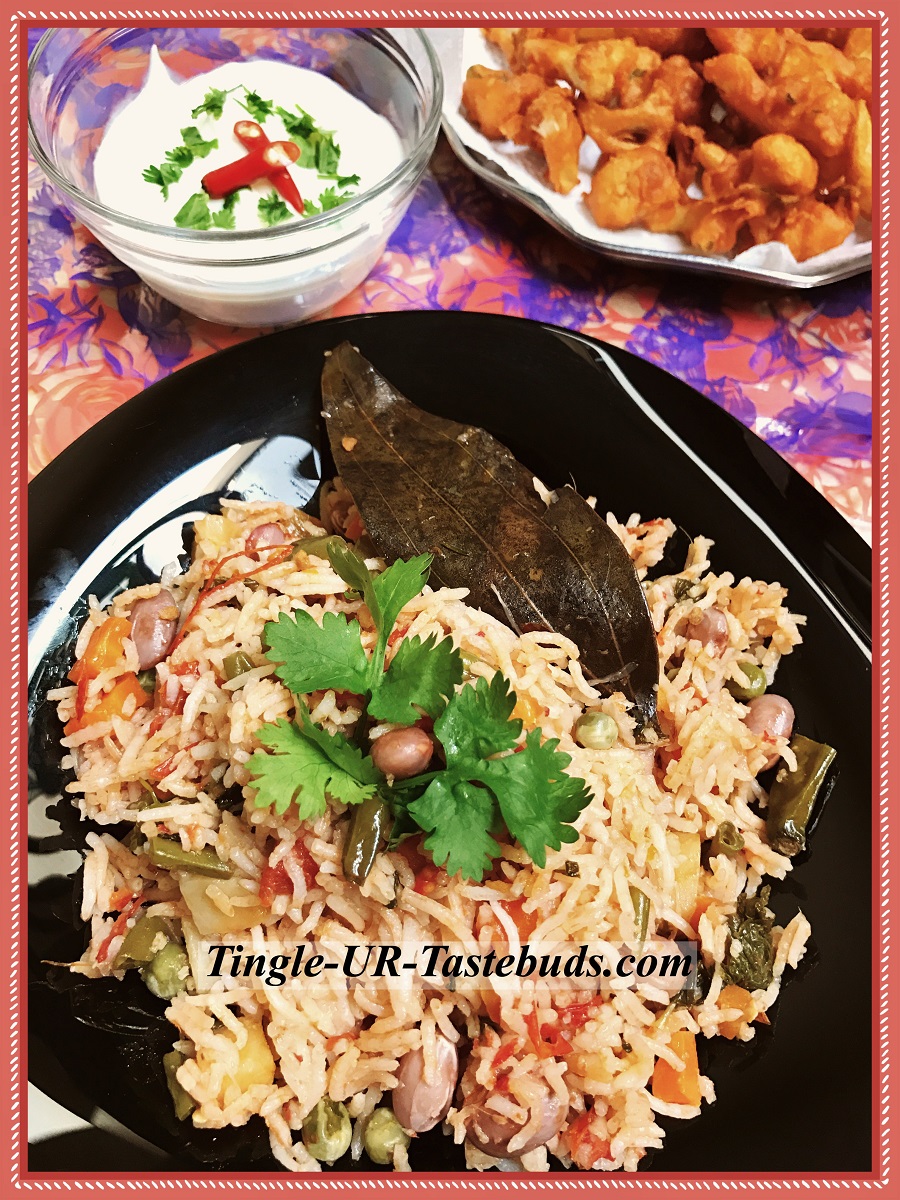
The Vegetable Briyani is ready to be served. I served it with raita and cauliflower 65. Try and let me know if you liked it.


Looks very delicious Meena 🙂
LikeLiked by 3 people
Thanks Malini.
LikeLiked by 2 people
We have been eating a different version here. Looks tempting!
LikeLiked by 3 people
You need to share your recipe with me so I can try and post it. 😉🙃
LikeLiked by 1 person
Wow..Easy to make M…Looks delicious too…Ahhhh wish I
U coulf make and me sit and Hogg…Whats that yummy thing behind the plate in the first pic M???That caught my eye first 😉🙈🙈
LikeLiked by 3 people
That’s cauliflower 65. 😉
LikeLiked by 2 people
Meena, I love pressure cooker meals and this vegetable biryani looks scrumptious!
LikeLiked by 2 people
Thankyou dear.
LikeLiked by 1 person
Meena, vegetable biryani looks attractive and tempting
LikeLiked by 3 people
Thanks my dear.
LikeLiked by 1 person
Meena..you cleared many of my doubts in the final note added…thanks a lot for this easy version.hats off to your mom too
LikeLiked by 3 people
Thankyou dear.
LikeLiked by 2 people
Send me some !!! I so am dying to dig in !!! Am due in less than two months !!! All ok !!!
LikeLiked by 3 people
Sure sending you right away. Perfect. Take care. 😘😍
LikeLiked by 1 person
Looks delicious! Happy New Year, Meena!
LikeLiked by 3 people
Thanks a ton Mick. I was thinking of you today. Wanted to read your post on misunderstandings and yes here you are. Wishing you a very fabulous year. Happy to see your message. 😊
LikeLiked by 2 people
Many thanks, Meena!
LikeLiked by 2 people
Woow!!looks Yummy 🙂
LikeLiked by 3 people
Thankyou dear.
LikeLike
Looks so yummy Meena😊
LikeLiked by 3 people
Lovely post! Looks yummy!
LikeLiked by 2 people
Nasi Briyani! I miss it!
LikeLiked by 1 person
Me too. I make them here.
LikeLiked by 1 person
Great!
LikeLiked by 1 person